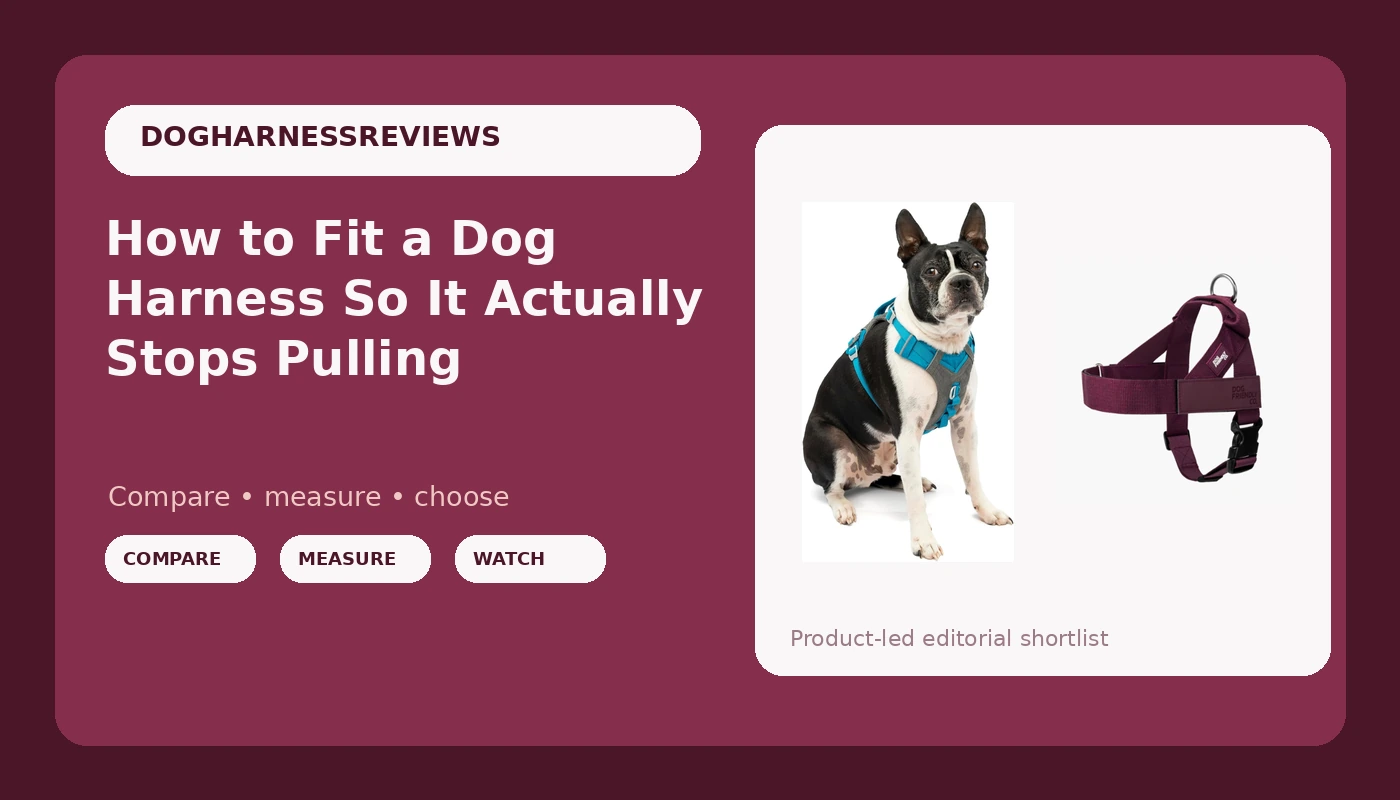
Most harnesses don't fail because they're badly made. They fail because they're badly fitted. I've watched a client wrestle a harness onto a 75-pound shepherd, cinch it down like a backpack, and then wonder why the dog still dragged her across the crosswalk. The harness was fine. The fit was a mess.
Learning how to fit a dog harness takes about ten minutes and one walk around the block. Get it right and a front-clip harness changes the physics of your leash. Get it wrong and you've bought your dog an expensive piece of nylon that slides sideways, rubs the armpits raw, and gives you zero steering.
Here is the whole process, in order, plus the two harnesses I hand to clients most often when they need something that actually stays in place.
Why you should trust me
I'm Tomás. I'm a certified dog trainer in Portland, Oregon, and before I ran my own business I spent eight years at a shelter working almost exclusively with reactive dogs and hard pullers. Those are the dogs that destroy gear, and fitting them taught me more about strap webbing and buckle hardware than any spec sheet ever did. I've fitted over 3,000 dogs at this point. I keep a shelf of more than 30 harnesses that have been washed, yanked on, and worn by my own two German shepherds.
I measure things. Strap width, buckle material, whether the padding stays where it was sewn after a Pacific Northwest winter of rain and mud. And I'll tell you the same thing I tell every client at the first lesson: the harness is a training tool, not a fashion accessory. If it doesn't stop the pulling, it's a fancy collar.
How I picked and how I tested
This guide isn't about which harness is "best" in some absolute sense. It's about the two shapes that solve the fit problem at the two ends of the size range, and how to dial either one in on your own dog.
When I evaluate a harness for a client, I look at four things.
Strap webbing. Is it flat nylon that lies against the body, or something soft that rolls and twists under load? A strap that twists is a strap that chafes.
Buckle hardware. Metal or plastic, and if it's plastic, does it flex when I press it between my thumb and forefinger? A buckle that flexes under thumb pressure has no business on a dog over 40 pounds.
Front clip position. With the harness on the dog, does the attachment point land at the sternum, or does it drift up toward the throat? This one matters more than people think, because a front clip that rides high turns every leash correction into a throat correction.
Padding. Does it stay put, or does it slide around the strap and mat against the fur? Padding that migrates after a month is worse than no padding, because it creates a hard edge where the strap meets skin.
The two harnesses below cover the two cases I see most: a smaller dog where most harnesses are simply scaled down badly, and a large dog that needs real structure across the chest. Then I'll walk you through the fit sequence I use on every dog, with the checkpoints that actually matter.
The two harnesses I start clients on
Neither of these is a magic no-pull device. Both give you the two things a harness needs to work at all: an attachment point that lets you redirect the dog, and enough adjustability to sit on the body instead of hanging off it.
Budget pick: Kurgo Journey Air Dog Harness, Blue, Small
 Visit on Amazon →
Small dogs are where fit goes wrong most often. A harness designed around a 70-pound frame and then shrunk down keeps the same bulky hardware on a 15-pound dog, and the dog ends up walking like it's wearing a saddlebag. The name on this one tells you the design intent: a lighter build for dogs that move, in a size band that covers the small end of the range.
What to verify when yours arrives is the same thing I check on every harness in this size class. Put it on and watch the chest strap. On a small dog, an eighth of an inch of extra length in the body panel is the difference between a strap that sits at the sternum and one that slides back into the armpit. Adjust it in small increments, not big ones.
The tradeoff with any lighter harness is that lighter webbing has more give under a hard lunge. That's fine for a 20-pound dog. It's not the harness I'd put on a 60-pound dog that throws its weight, and I'd rather you hear that from me than discover it on a busy street.
Flaws but not dealbreakers: Lighter builds need more frequent fit checks, especially in the first month. Put it on, walk it, check it again next week.
Anyone with a small dog who wants a walking harness that doesn't swallow the dog's whole chest will be happy here.
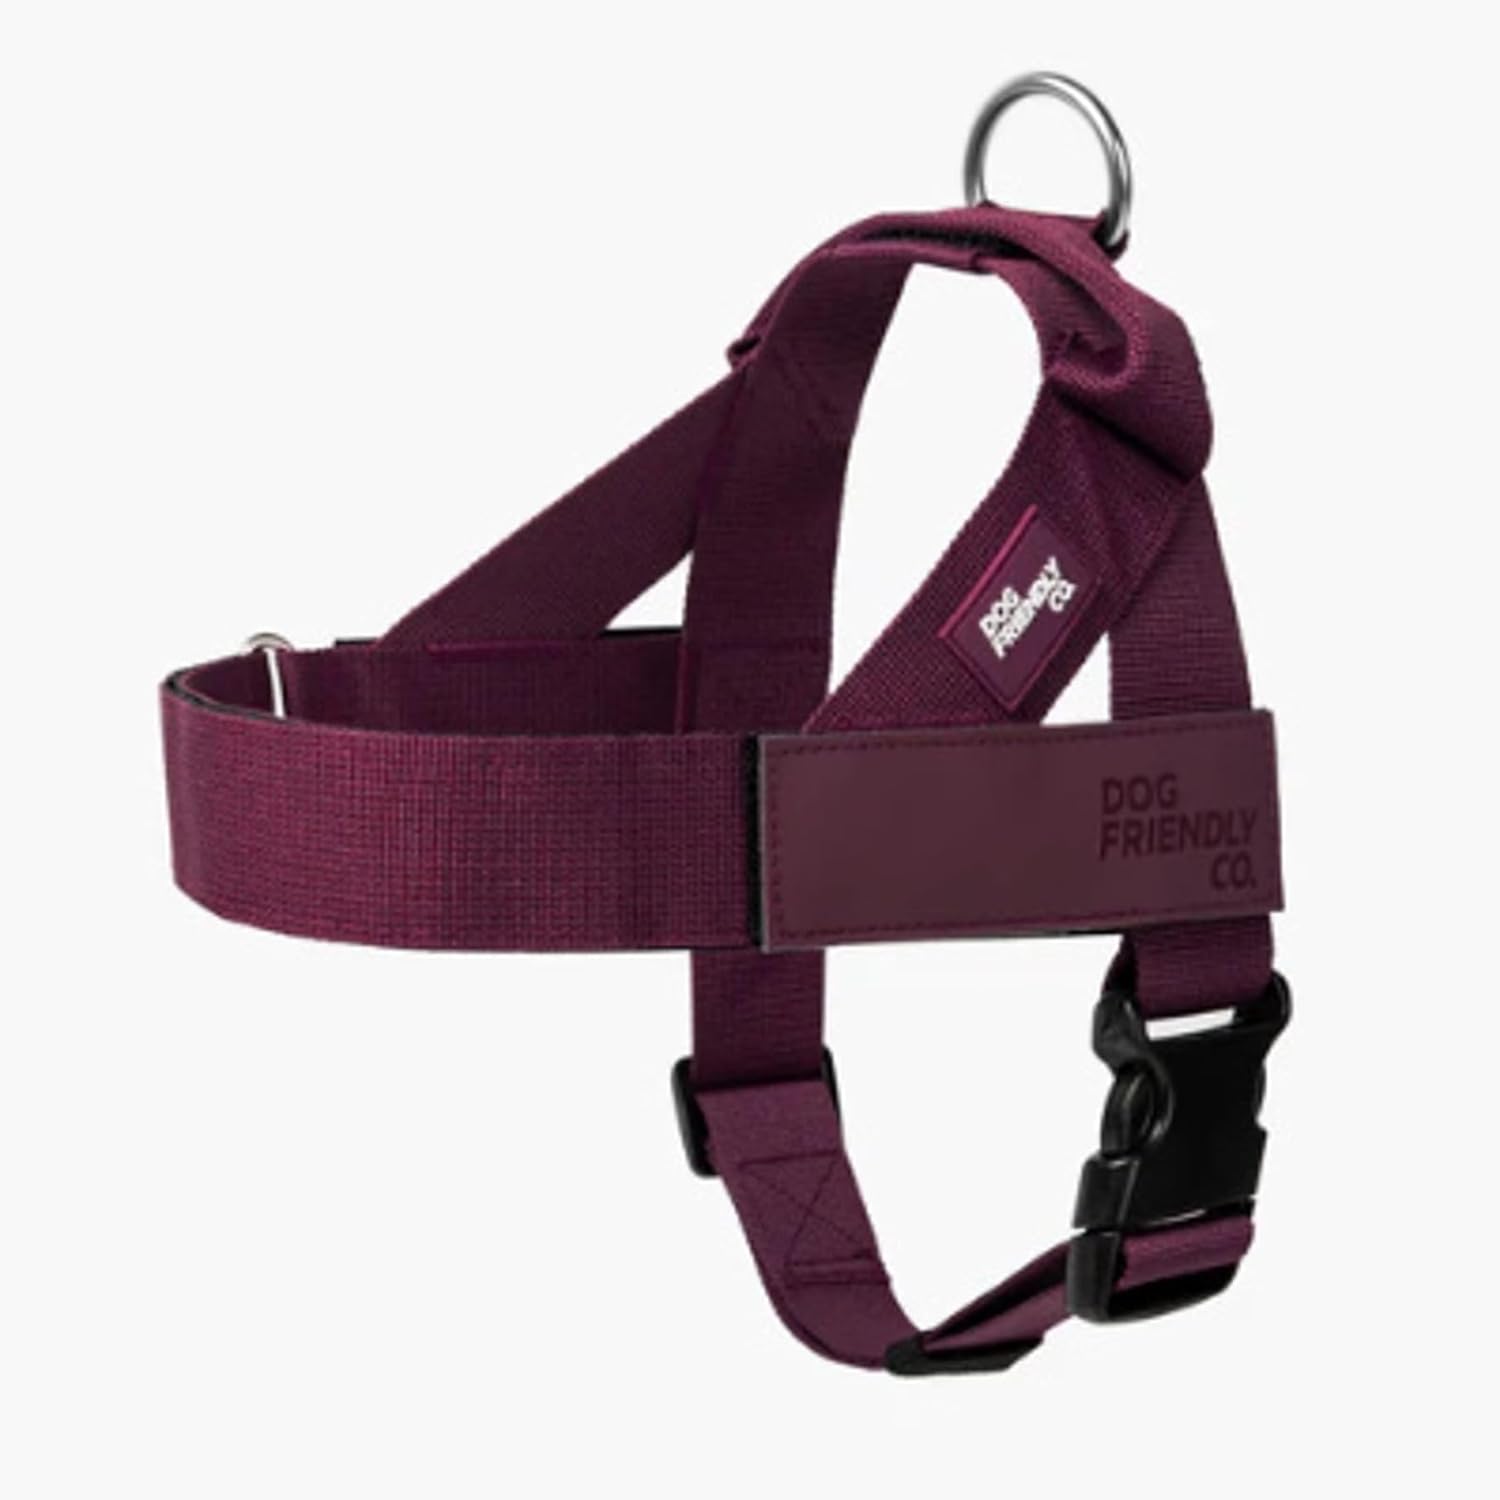
Pick for large dogs: Dog Friendly Co. Dog Harness for Large Dogs (Burgundy, Large)
 Visit on Amazon →
Large-dog harnesses are a different engineering problem, and this one is built specifically for that size band. When a 70-pound dog hits the end of a leash, the load on the hardware is nothing like what a small dog produces. That's why I have a hard rule about plastic buckles on dogs over 40 pounds: I've watched a plastic buckle give way on a leash pop, and the dog was in the street before the owner understood what happened.
The other reason I put a large-dog harness in front of clients is adjustability in two places. The girth strap and the chest strap have to be independent, because a deep-chested dog and a barrel-chested dog of the same weight need completely different settings. If tightening the girth also pulls the chest strap tight, the harness will never sit right.
This one also comes in a color that won't turn gray after a winter of Oregon mud, which sounds like a small thing until you've paid for a harness twice because the first one looked like a rag by February.
Flaws but not dealbreakers: A harness this structured needs a real fitting session, not a quick slip over the head. Budget ten minutes the first time.
Anyone with a dog over 50 pounds that pulls should start their search here.
The fitting sequence, step by step
Do these in order. Skipping ahead is how people end up with a harness that looks right in the hallway and fails on the sidewalk.
Step one: Measure the girth, not the weight. Weight tells you almost nothing about harness size. Run a soft tape around the widest part of the ribcage, right behind the front legs, and write the number down. Measure twice. If your dog is between two sizes on a chart, go with the larger one only if the chest strap can be shortened enough to compensate, which is a judgment call you make with the harness in your hands.
Step two: Loosen everything before the first try-on. Every strap, all the way out. Trying to slide a snug harness over a dog's head is how you teach a dog to hate the harness. Loose first, adjust second.
Step three: Set the girth strap. Two fingers flat under the strap at the widest point of the chest. Flat fingers, not stacked, not squeezed. This is the strap that carries most of the load, so it needs to be snug against the body without compressing the ribcage. If your dog coughs or the harness leaves a deep groove after a walk, it's too tight.
Step four: Set the chest strap. This is the strap that runs across the front of the chest, below the neck. It should sit at the sternum, not up at the throat. A chest strap that rides high will choke a dog the moment it pulls, which defeats the entire point of using a harness instead of a collar.
Step five: Check the front clip position. Attach the leash and look at where the clip actually sits. It should land at the center of the chest, roughly level with the point of the shoulder. If it drifts back under the armpit, the harness is too long in the body and your dog will get leash burn in exactly the spot that's hardest to heal.
Step six: Check shoulder clearance. Slide your hand under the harness at the front of each shoulder. You should feel the shoulder blade move freely without the strap crossing over it. Strap over the shoulder equals restricted stride, and a restricted stride is a harness that gets blamed for limping.
Step seven: Walk test. Twenty minutes, normal pace. Watch the harness, not the dog. Does it rotate sideways when your dog turns? Does the back strap pull to one side? Does the chest strap creep upward? Any of those means a strap is out of balance.
Step eight: Check for rub marks. After the walk, look at both armpits and behind the shoulders. Pink skin and slightly indented fur are normal. Red, raw, or hairless patches mean the fit is wrong, and no amount of breaking in will fix it.
Step nine: Re-check after two weeks. Nylon stretches. Winter coats come in. A harness that fit in October may be loose by December. I re-fit my own dogs' harnesses monthly and I've never once regretted the two minutes it takes.
The mistakes I see on almost every dog
Tightening the girth strap to stop the pulling. Tight does not equal control. Tight equals chafing, and a chafed dog fights the harness.
Leaving the back strap long. A long back strap is where the sideways rotation comes from. Shorten it until the harness body sits flat along the spine.
Using a back clip on a puller. A back-clip harness on a strong dog that pulls is a sled dog setup. You are the sled. Front clip, or add a training plan before you add gear.
Buying a size up so the dog grows into it. A harness that's too big slides, and a sliding harness rubs. Buy for the dog in front of you.
Never checking the fit again. The single most common reason a good harness stops working is that nobody looked at it after week one.
If your dog still pulls
A front-clip harness redirects force. It does not teach your dog anything. What it buys you is a mechanical advantage that makes training possible without your shoulder taking the damage, and that's genuinely valuable, but it's a head start, not a finish line.
The training piece is simple and boring. Reward the loose leash, change direction the instant the leash goes tight, and stop moving when your dog is pulling. Ten minutes a day, on the same route, for a few weeks. The harness is what keeps those ten minutes from turning into a wrestling match.
I've also never met a dog that needed a second harness for the car, and I still recommend one. A walking harness is adjusted for stride. A car setup is a different job entirely, and using one harness for both means one of those jobs is being done badly.
What this all costs
The honest math here isn't the price tag, it's how many harnesses you buy before you get the fit right. I've had clients go through three before they measured their dog. Check current Amazon price on either harness above, then spend the ten minutes on the fitting sequence before you order a second one.
The other cost people forget is the wash cycle. A harness that fits gets worn in the rain, in the mud, and in the creek. Plan on washing it by hand with a mild soap and letting it air dry, and check the stitching at the clip attachment points every time you do. That's the one place a harness actually fails, and it fails slowly enough that you'll see it coming if you look.
Why not the other harnesses
I left a lot of harnesses out of this guide on purpose, and the reasons are worth knowing so you can filter the shelf yourself.
One-size-fits-all harnesses are the first thing to skip. A harness that claims to cover a 20-pound dog and a 90-pound dog is a harness that fits neither one well, and fit is 80% of the outcome.
Back-clip-only designs are the second. They're fine for a dog that already walks politely, and they're useless for a dog that doesn't. If you're reading a guide about pulling, a back-clip harness is the wrong purchase.
The third group is the Instagram harnesses. Pretty colors, big marketing budgets, plastic hardware on dogs that weigh more than most luggage. I've taken apart more than one of these on my bench and found the same nylon as a budget harness with a nicer website wrapped around it. The training brands earned their reputation in the field. The photo brands earned theirs in a studio.
And the last group is anything with a prong or a shock component. Different philosophy, different conversation, and not something I'll put on a dog.
The bottom line
Fit first, then hardware, then training, in that order. A harness that sits correctly on the body gives you steering and takes the load off your dog's neck. A harness that doesn't fit gives you a dog that pulls harder, rubs raw, and learns that walks are uncomfortable.
Measure the girth, set the girth strap, set the chest strap, check the clip position, walk for twenty minutes, look for rub marks, and check it all again in two weeks. That's the entire job, and it's the difference between a harness that works and a harness you'll be replacing by spring.