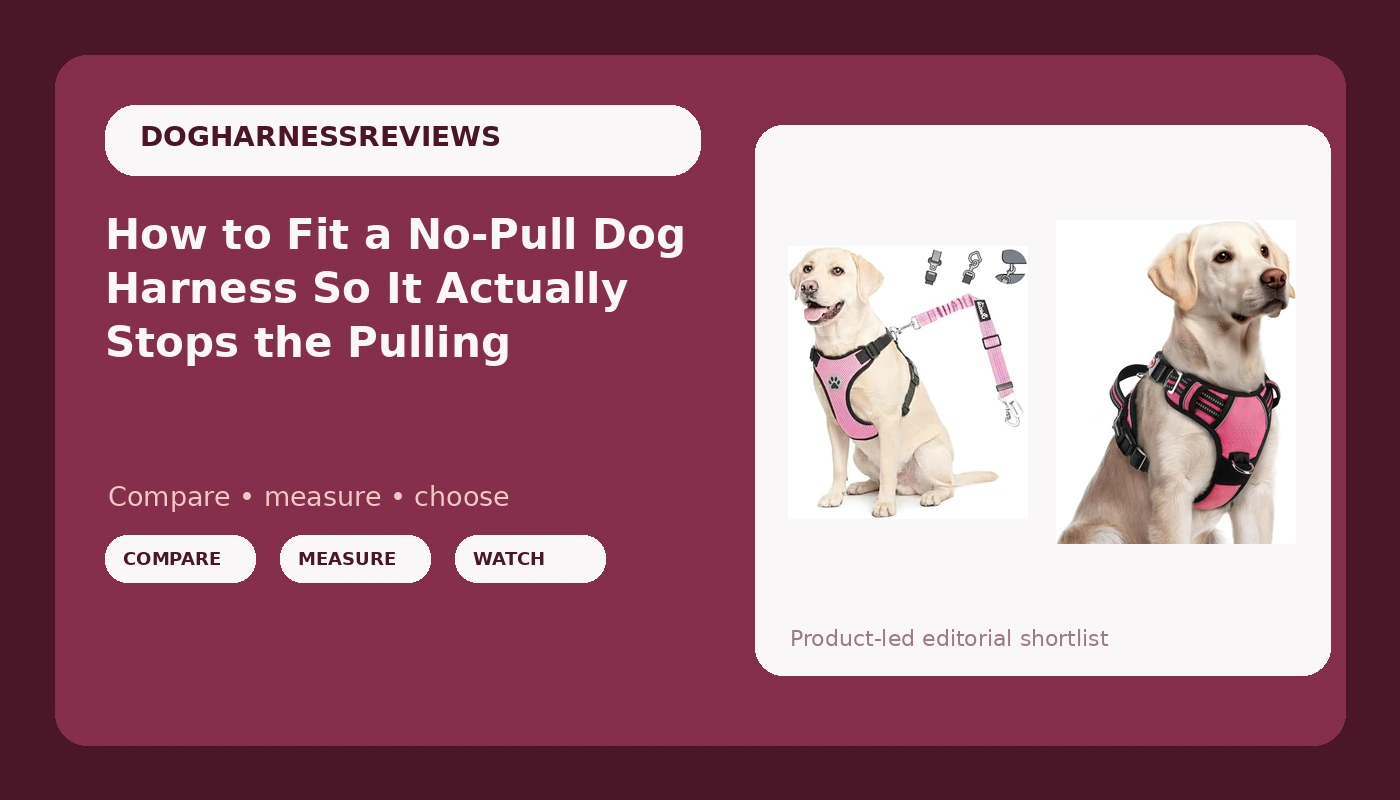
Most people buy a no-pull harness, wrestle it onto the dog, and then blame the harness when the dog still tows them down the block like a freight car. I have fitted more than 3,000 dogs at a shelter and through my own training business, and I can count on one hand the number of times the harness itself was the problem. It was almost always the fit.
A correct no-pull dog harness fit is about 80 percent of the outcome. The best harness on the market fails on a dog it does not fit, and a cheap harness with a metal front clip and properly set straps will out-perform a premium one that slides around the ribcage. The other 20 percent is you. A front-clip harness is a steering wheel, not a brake pedal, and you still have to teach the dog what pressure on the leash means.
This guide covers both halves of the job: fitting a walking harness so the no-pull geometry actually engages, and fitting a car harness so your dog is restrained instead of launched in a hard stop. Those are two different harnesses for two different jobs, and I will keep saying it until the industry stops pretending one product does both.
Why you should trust me
I spent eight years working with reactive and pulling dogs at a shelter before I opened my own training business in Portland. In that time I fitted harnesses on everything from a nine-pound senior Chihuahua to a 130-pound mastiff with a chest like a rain barrel. I keep a shelf of more than 30 harnesses that I have washed, yanked on, and handed to clients, plus two German shepherds of my own who are excellent at destroying anything with a plastic buckle.
What I care about is boring: strap webbing width, whether the adjustment sliders hold position, whether the front attachment is metal, and how long the padding stays where it was sewn. I do not care how the harness looks in a photo shoot. If it does not stop pulling, it is a fancy collar.
How I picked and how I tested
Every harness that comes through my door gets the same checklist, and these two earned a place in this guide because they are built for the two jobs most owners actually have.
Front attachment material. Metal or nothing. I have bent three plastic D-rings with my thumb, and a leash pop on a plastic ring is how dogs end up loose in traffic.
Strap webbing. Wider webbing spreads load across the chest. A big padded chest plate over thin webbing is marketing. The webbing is what holds.
Adjustment range. A harness with four adjustment points fits a dog. A harness with two fits a photograph.
Hardware placement. The front attachment should sit on the sternum, between the front legs. If it rides up toward the throat or down toward the armpit, the steering does not work no matter how good the hardware is.
Everything below is about how to fit those two harnesses, not about which color to buy.
The two harnesses this job requires
Walking and riding are different problems. One needs a front clip for steering. The other needs a tether attachment that keeps the dog on the seat.
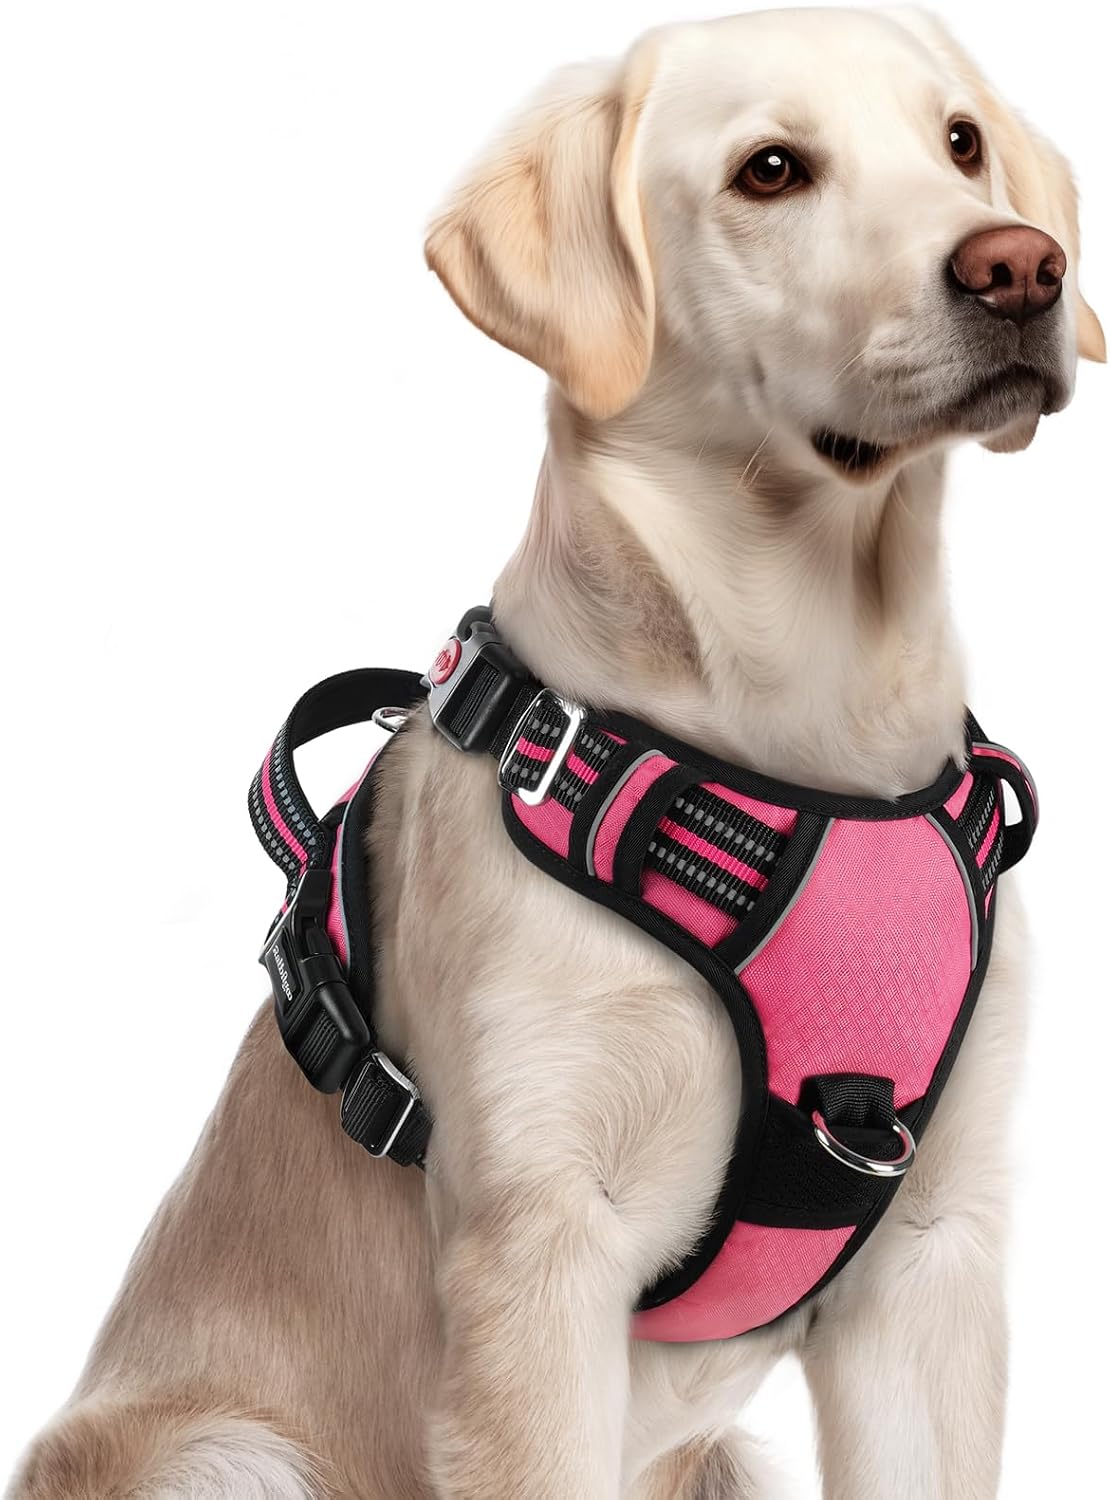
For the puller: rabbitgoo Dog Harness for Large, No Pull 3 Buckles Easy On & Off
 Visit on Amazon →
This is the walking harness I hand to clients with a large dog that pulls. The three-buckle layout means you are not dragging a loop over the dog's head, which matters with a dog that is already worked up before the walk starts. Check current Amazon price before you order, and measure your dog's chest girth first rather than guessing from the size label.
The adjustment range is the reason it makes the guide. You can dial the neck straps and the chest straps independently, which is what lets you put the front attachment on the sternum instead of somewhere useless. Sizing runs toward big-chested dogs, so if your dog is between sizes, size to the chest girth and adjust down.
Flaws but not dealbreakers: Three buckles mean three points to check before every walk, and a harness that is easy on is also easy off if you leave it loose. That is a fit problem, not a product problem, but it is real. Recheck the buckles weekly, because a harness that lives in the mud and the rain will loosen.
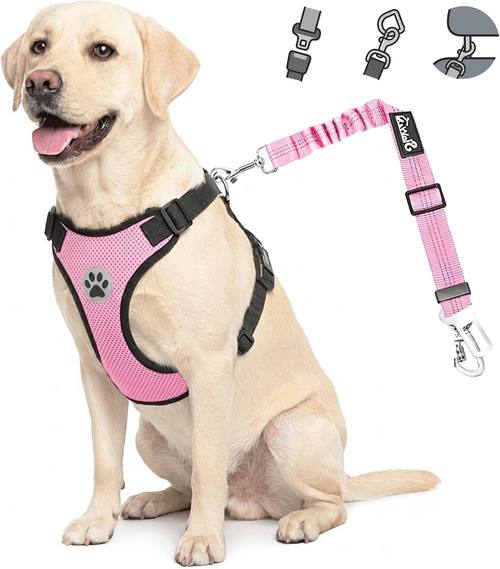
For the car: Lukovee Dog Car Harness Seat Belt, Harness & Seatbelt with 2 in 1 Buckle
 Visit on Amazon →
A car harness is not a walking harness with a seatbelt loop sewn on. It is a restraint system, and the fit rules are different because the forces are different. This one pairs a padded body harness with a seatbelt connection and a two-in-one buckle, so it goes on the dog the same way every time. Check current Amazon price before you commit, and confirm the tether setup against your vehicle's seatbelt style.
The fit question here is not steering, it is travel. The dog needs to sit and lie down without slack that lets it reach the front seat or slam into the door panel.
Flaws but not dealbreakers: A harness tether is not a crash-tested crate, and no harness on a seatbelt is a guarantee in a serious collision. For a dog that panics in the car, a crate or a crash-tested carrier is still the better answer. This is for the dog that rides calmly and needs to stay put.
How to fit the walking harness, step by step
Step one: measure before you touch the harness. Chest girth at the widest point behind the front legs, and neck girth at the base of the neck. Write the numbers down. Every fitting problem I see in person starts with someone ordering from a photo.
Step two: put it on loose. Loosen every slider to its widest setting before it goes on the dog. Fitting a harness that is already tight means you are fighting the straps instead of placing them.
Step three: set the neck straps first. Snug them so you can slide two flat fingers underneath, no more. If the neck straps are loose, the whole harness rotates when the dog turns its head, and the chest plate ends up under one armpit.
Step four: place the chest plate on the sternum. It should sit flat on the front of the chest, centered between the shoulders, with the front attachment level with the point of the shoulder. High enough to steer, low enough that it is not pressing on the throat.
Step five: set the belly straps. Snug, same two-finger rule. These stop the harness from riding forward when the dog backs up. If the belly straps are loose, the harness climbs.
Step six: check the front attachment. It must hang on the sternum, between the front legs. Not on the side of the chest, not in the armpit. If yours sits in the armpit, the chest strap is too long or the harness is too big.
Step seven: walk the dog ten steps in the driveway. Watch which strap moves. Any strap that shifts more than a finger width needs to come in a notch. Do this before you leave the property, not three blocks into traffic.
Step eight: recheck after ten minutes. Harness straps settle once the dog moves. What was snug in the kitchen is often loose by the end of the block.
How to use it so the pulling actually stops
The front clip works by redirecting forward momentum sideways. When the dog pulls, the leash on the front attachment turns the chest, and the dog ends up facing you instead of the horizon. That only happens if the clip is on the sternum and the leash stays slightly slack. A tight leash on a front clip just drags the harness sideways.
So: leash on the front attachment for walks, hands quiet, and reward the dog every time it turns back toward you. The harness buys you the half second you need to reward the behavior. It does not train the dog by itself, and anyone who tells you otherwise is selling something.
If you need a second attachment point for a long line in an open field, a back clip is fine there. Never use the back clip on a dog that pulls. A back-clip harness on a 70-pound dog that pulls is a sled dog setup, and you are the sled.
How to fit the car harness, step by step
Step one: measure chest girth, same as the walking harness. Order to that number.
Step two: put the harness on over a flat coat, not over a thick winter sweater. Padding plus a coat changes the girth by a full size and the straps will twist.
Step three: adjust so the chest straps sit flat and the belly straps are snug. Twist in the webbing is what causes rubs on long drives.
Step four: connect the tether or seatbelt loop, then set the length. The dog should be able to sit up, lie down, and turn around, but not reach the front seat or the door panel.
Step five: test it in the driveway with the car off. Push on the dog's chest gently and see whether the harness rotates. If it does, tighten the belly straps a notch.
Step six: recheck at every stop on the first long drive. Straps settle with movement, and a car harness that loosens is a car harness that is not doing its job.
Fit checks for three body types
Deep-chested dogs (shepherds, boxers, most working breeds) need the chest strap long and the neck straps short, so the plate lands on the sternum instead of sliding up under the throat.
Barrel-chested dogs (bulldogs, mastiffs) need the belly straps snug and the neck straps generous, or the harness will rotate around the ribcage. Expect to check the fit more often on these dogs.
Narrow, long-bodied dogs (sighthounds, and most puppies) will swim in a harness sized to their chest girth. Size to the girth and accept that the neck straps may need to go tighter than the chart suggests, then recheck weekly while the dog is still growing.
Common mistakes that make a good harness fail
Leaving the front attachment in the armpit, which turns a no-pull harness into a chafing machine. Buying a harness one size up "to grow into," which puts the clip in the wrong place from day one. Running the leash on the back clip and wondering why the dog still pulls. And never rechecking the fit after the dog's coat changes with the season, which is the single most common reason a harness that worked in July rubs in November.
What this all costs
Two harnesses cost more than one, and that is the part people resist. But the math is simple: one harness that steers on walks plus one that restrains in the car is cheaper than a vet bill for a dog that got loose at a stoplight, and cheaper than replacing a single do-everything harness every year because it was doing neither job well.
Check current Amazon price on both before you buy, order to your measured chest girth rather than the label, and spend twenty minutes on the driveway fit check. That twenty minutes is the whole product. The harness is just nylon and metal until you set it up right.
Fit it once, correctly, and your dog will tell you the difference on the first block.