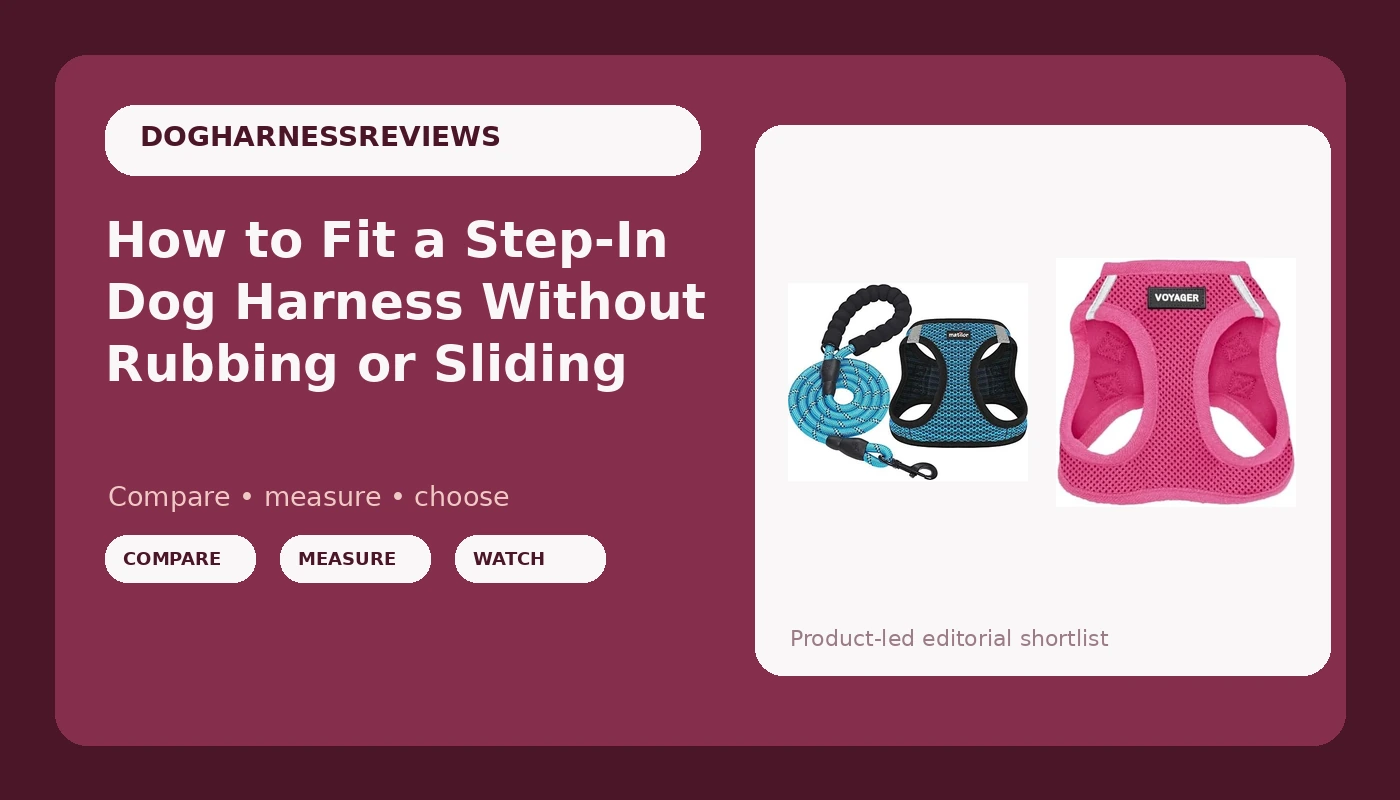
Most step-in dog harnesses get returned for one reason, and it is not the harness. It is the fit. I have fitted more than 3,000 dogs in eight years of shelter work and my own training business, and I can count on one hand the step-in harnesses that failed because of bad materials. The rest failed because the chest strap was an inch too loose, the leg holes sat too far back, or nobody checked the fit after the first walk. Step-in dog harness fit is a measurement job. Do it once, properly, and the harness disappears into the background where it belongs.
This guide is for the owner with a small dog, a puppy, or a cat who hates having a loop pulled over their head. I will cover the three measurements that matter, the fit points that decide whether the harness rubs or stays put, and the ten-minute walk test that tells you if you got it right. I will also be honest about what a step-in harness cannot do, because a back-clip vest is not a no-pull tool no matter how well it fits.
Why you should trust me
I am a certified dog trainer in Portland, Oregon. I spent eight years at a shelter working with reactive and pulling dogs before I started my own training business, and I have fitted harnesses on everything from a four-pound Chihuahua to a ninety-pound shepherd. I keep a shelf of more than thirty harnesses that I have washed, yanked on, and handed to clients until the buckles gave out or the padding shifted. I measure strap webbing, buckle metal, and how long the padding stays where it was sewn.
My bias is simple. A harness is a training tool, not a fashion accessory. If it does not help you control the dog, it is a fancy collar. But fit is eighty percent of the outcome. The best harness in the world fails on a dog it does not fit, and a cheap harness that fits correctly will outperform it every time.
What a step-in harness can and cannot do
A step-in harness is built for a specific job. The dog steps into two leg holes, the harness comes up over the chest, and it clips on the back. There is no loop to pull over the head, which matters for puppies who are still suspicious of handling and for cats who turn into liquid the moment you try.
What it cannot do is stop a hard puller. A back-clip harness puts the leash attachment above the shoulders, and a dog that pulls into it will lean forward and tow you like a sled dog. That is physics, not a knock on the product. If your dog pulls, you need a front-clip harness or a training plan, and ideally both. A step-in harness is a walking harness for a dog that already walks politely, or a management tool for a small dog you can physically handle.
That distinction matters for fit. A back-clip harness rotates when the dog pulls. If the chest strap is loose, the whole vest shifts to one side, the leg hole digs into the armpit, and you get a raw spot in a week. A snug step-in harness resists that rotation. The fitting rules below are stricter than the ones you would use for a front-clip harness.
How I judge a step-in harness
I run every harness through the same checklist before it goes on a client's dog. The list is short because the product is simple.
Strap webbing. I want woven nylon, not a flat ribbon that folds over on itself. A strap that folds will not hold an adjustment, and an adjustment that slips is a harness that rubs.
Buckle material. Plastic buckles are acceptable on a small dog under twenty pounds. On anything bigger, I want metal, or at least a plastic buckle with a metal core. I have seen a plastic buckle explode on a leash pop, and I have bent three plastic D-rings with my thumb. Buckle quality is the entire product.
Adjustment points. A step-in harness needs at least two, one on the chest and one on the belly. Three is better. A harness with a single adjustment point will fit one body type and nothing else.
D-ring attachment. The D-ring should be sewn into a reinforced tab, not threaded onto a single thin strap. If you can wiggle the D-ring side to side more than a quarter inch, the attachment is too floppy.
Padding. Padding that shifts after a month is worse than no padding. It bunches, traps fur, and rubs raw spots. I would rather have a smooth, unpadded strap than a padded one that migrates.
The two harnesses below are the step-in models I would hand a client with a small dog or a puppy. They are both simple, both affordable, and both easy to fit once you know the fit points. Check current Amazon price at the links, because these things move around.
The measurements you need before you order
Do not order by weight. Weight is a rough guide at best, and it fails completely on deep-chested breeds and puppies with a growth spurt in progress. Get a soft tape measure and take three numbers.
Chest girth. Measure the widest part of the ribcage, right behind the front legs. Pull the tape snug, not tight, and take the measurement at the end of an exhale. This is the number that decides your size.
Neck opening. Even a step-in harness has a neck opening where the chest panel sits. Measure around the base of the neck, where a collar would sit. If the harness is adjustable at the neck, you have room. If it is not, this measurement tells you whether the harness will choke or gap.
Body length from the front leg to the ribcage. Measure from the top of the front leg back to the widest part of the ribcage. This is the distance the chest strap has to cover. If the strap is longer than this, it will slide back into the armpit. If it is shorter, it will pull forward onto the shoulder. Neither is comfortable.
Now compare your numbers to the size chart. If your dog is between sizes, size up for a puppy and size down for an adult with a full coat. A puppy will grow into the larger size. An adult with a thick double coat needs the smaller size so the strap does not sit loose on the fur and then rub the skin.
The fitting workflow
Put the harness on with the straps loose. Most owners tighten first and then fight the buckles. Do it the other way around.
Step one: Lay the harness flat. Put it on the floor and identify the chest strap, the belly strap, and the leg holes. Loosen every adjustment so you have maximum room. This takes thirty seconds and saves ten minutes of wrestling.
Step two: Step the dog in. Put a treat at the front of the harness and let the dog walk into it. If your dog backs up, do not chase. Put the harness on the floor, reward the dog for sniffing it, and try again. A step-in harness is only easy if the dog cooperates, and cooperation is built with treats, not force.
Step three: Clip the back. Once both front legs are through the holes, bring the back panel up and click the buckle. The D-ring should land in the center of the back, between the shoulder blades. If it lands off to one side, the harness is twisted. Unclip, straighten, and try again.
Step four: Set the chest strap first. The chest strap runs around the ribcage behind the front legs. Adjust it so you can slide two fingers under it with a little drag. Not loose enough to spin, not tight enough to compress the chest. This is the most important adjustment on the harness.
Step five: Set the belly strap. The belly strap runs behind the front legs and under the chest. It should be snug enough that the harness does not shift when you pull gently on the D-ring. Two fingers should still fit, but with more drag than the chest strap. If the belly strap is loose, the leg holes will slide back and rub.
Step six: Check the leg holes. Slide one finger under the edge of each leg hole. The hole should clear the shoulder joint, not cross over it. If the strap sits on top of the shoulder, the harness is too long. If the edge digs into the armpit, the harness is too short or too big. You want the strap in the flat space between the shoulder and the ribcage.
Step seven: Check the armpit. This is where most step-in harnesses fail. Lift the front leg gently and look at the skin behind it. If the strap or padding sits in the crease of the armpit, the harness will rub. Try shortening the belly strap or moving the chest strap forward. If you cannot get it out of the armpit, the harness is the wrong shape for your dog.
Step eight: Walk test. Take a ten-minute walk on your normal route. Watch the harness, not the dog. Does it stay centered on the back? Does the D-ring stay between the shoulder blades? Does the chest strap stay behind the front legs? When you get home, run your fingers under every strap and check for red marks, fur rubbing, or a hot spot. A harness that fits will leave no marks at all.
Step nine: Recheck after three walks. Nylon webbing stretches slightly with use. The first adjustment is rarely the final one. Check the chest and belly straps again after the third walk, and then once a month after that. If your dog gets a haircut, gains weight, or loses weight, check again.
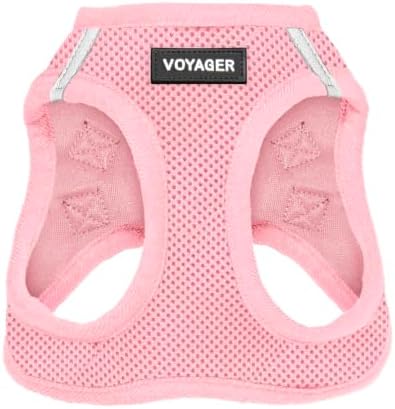
Our pick for tiny dogs: Voyager Step-in Air Dog Vest Harness - Fuchsia, Small
 Visit on Amazon →
This is the harness I reach for when a client has a dog under fifteen pounds and wants something that goes on in five seconds. The mesh build is breathable, which matters in a Portland summer and matters even more if your dog wears the harness for a full walk. The step-in design means no head loop, and the small size is genuinely small, so it does not swallow a toy breed.
Check current Amazon price. The trade-off is the same as every step-in harness: it is a back-clip design, so it is not a no-pull solution. If your dog is a dedicated puller, put this on for car rides and vet visits and buy a front-clip harness for walks. If your dog walks politely, this is all you need.
Flaws but not dealbreakers: The mesh is light, which is the point, but it is not built for a dog that lunges at every squirrel. The plastic hardware is fine for a small dog and not fine for a big one. If your dog is at the top of the size chart, size up, because the mesh does not stretch.
Runner-up for puppies and cats: Dog Harness Step-in Breathable Puppy Cat Vest, Medium, Blue
 Visit on Amazon →
This one is sized for the middle range, which makes it a useful puppy harness. Puppies grow fast, and a medium step-in vest gives you more adjustment room than a small. The blue color is easy to spot in tall grass, and the breathable vest build is light enough for a puppy who is still learning that harnesses are not a trap.
Check current Amazon price. The medium size also fits some cats, which is worth knowing if you have a cat who walks on a leash and hates a figure-eight harness. Same caveat as above: back clip, not a no-pull tool. For a puppy, that is fine. You are using the harness to build positive associations, not to stop a seventy-pound dog from dragging you across the street.
Flaws but not dealbreakers: A growing puppy will outgrow the medium faster than you expect. Buy it for the fit now, not for the dog you will have in six months. If the straps are already at the end of their adjustment range, you need the next size.
Common fitting mistakes
Buying by weight. Weight charts assume a breed-standard body. A deep-chested dog and a barrel-chested dog of the same weight need different sizes. Measure the girth.
Leaving the chest strap loose. A loose chest strap lets the harness rotate. Rotation causes armpit rub. Tighten the chest strap until two fingers slide under with drag.
Putting the harness on over a coat. A harness sized for fur will be too tight over a winter coat. Either size up for the coat or put the harness under the coat and use a leash attachment that reaches through. Never guess.
Ignoring the armpit. Check the armpit after every walk for the first week. Redness shows up before a raw spot does.
Using a back-clip harness on a hard puller. This is the mistake that gives step-in harnesses a bad name. The harness is not failing. It is doing exactly what a back-clip harness does.
Never rechecking the fit. Nylon stretches. Puppies grow. Coats change with the season. A harness that fit in October may not fit in January.
When to size up or switch
Size up when the straps are at the end of their adjustment range and you still need more room. Size up when the leg holes leave red marks even after you have checked the armpit and the shoulder. Size up when your puppy's chest girth has grown more than an inch since you bought the harness.
Switch to a front-clip harness when your dog starts pulling hard enough to rotate the vest or lean into the leash. A step-in harness is a management tool. When the dog's behavior changes, the tool has to change with it.
What this all costs
Both of these harnesses sit in the affordable range, and you can check current Amazon price at the links above. The real cost of a bad fit is not the harness. It is the vet visit for a rubbed armpit, the training sessions you pay for because the dog hates the gear, and the replacement harness you buy when the first one gets returned.
A properly fitted step-in harness costs less than one professional grooming appointment. The fitting takes fifteen minutes. The walk test takes ten. That is twenty-five minutes to solve a problem most owners live with for months.
The bottom line
Step-in dog harness fit comes down to three numbers, three fit points, and one walk test. Measure the chest girth, the neck, and the distance from the front leg to the ribcage. Set the chest strap first, then the belly strap. Check the leg holes, the armpit, and the D-ring position. Walk for ten minutes and look for marks. Do that, and the harness will stay where you put it, the fur will stay on your dog, and the walk will stop being a fight.
If you have a small dog or a puppy who hates a head loop, start with one of the two harnesses above. If you have a hard puller, start with a front-clip harness and a training plan, then come back to this guide when the pulling is under control. The harness is only as good as the fit, and the fit is in your hands.